
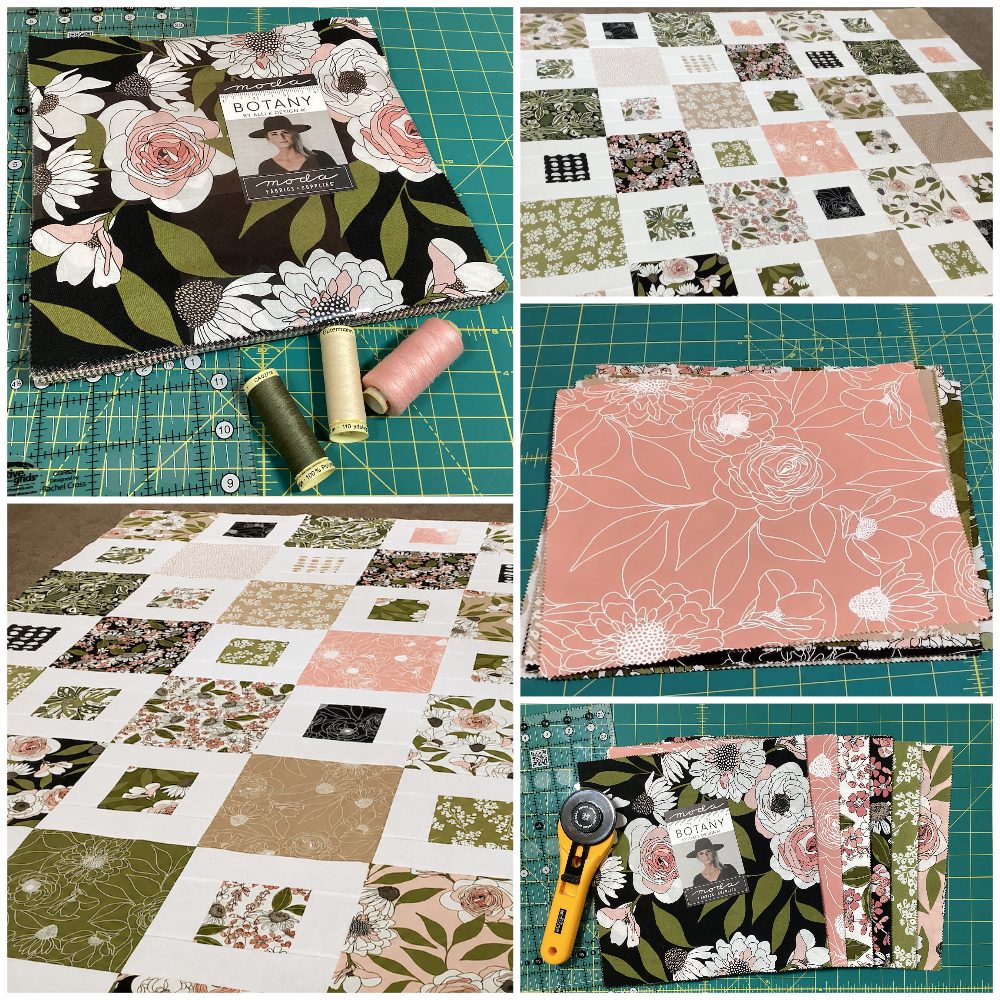
Today we’re making a quick and easy quilt that’s perfect for a weekend project. I’m using a Layer Cake for this one, which makes getting started nice and easy. The fabrics are already coordinated, the squares are already cut, so there’s not a lot of prep work to do before we can start sewing. I am using Botany by Alli K Design for Moda and I just love the large floral designs.
Along with the layer cake, I’m also using some white fabric to break up the prints and bring everything together. So, let’s get started.
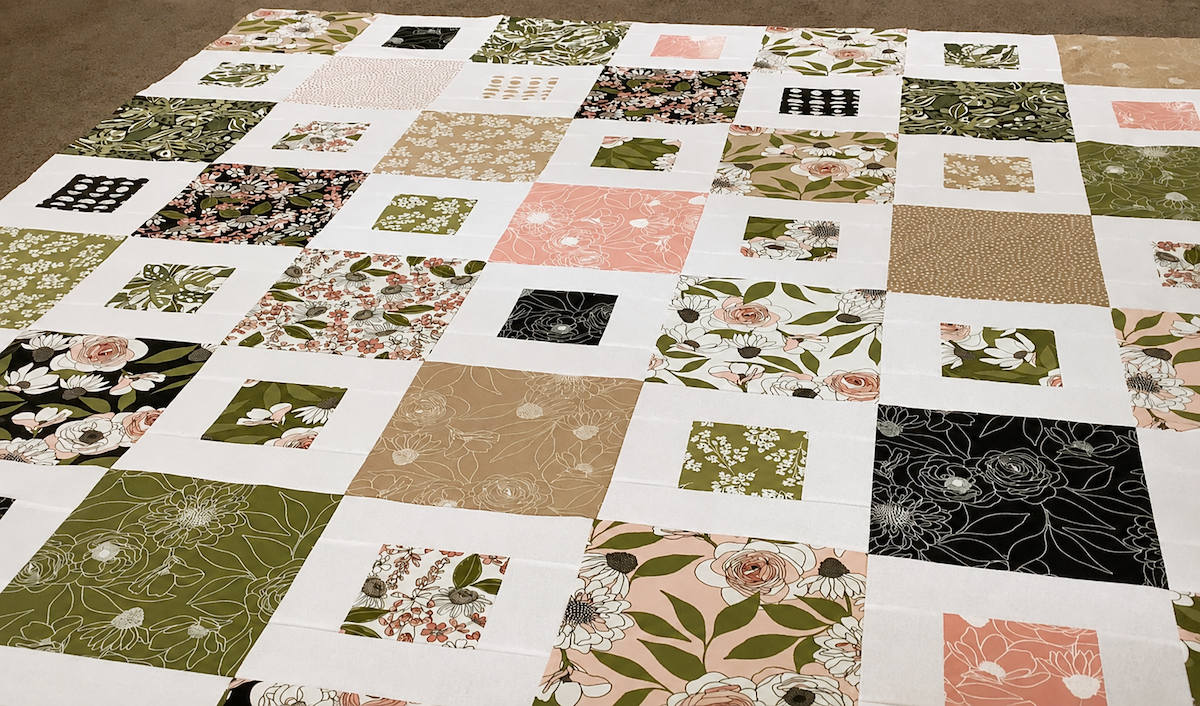
Finished Quilt Size
The finished quilt measures approximately 66½” x 76″
Quilt at a Glance
| Feature | Details |
|---|---|
| Skill Level | Beginner Friendly |
| Finished Size | 66½” × 76″ |
| Quilt Style | Layer Cake Quilt |
| Pre-cut Used | 1 Layer Cake |
| Additional Fabric | 2 yards white fabric |
| Unfinished Block Size | 10″ × 10″ |
| Finished Block Size | 9½” × 9½” |
| Quilt Layout | 7 blocks across × 8 blocks down |
| Blocks Required | 56 |
| Project Time | Weekend Project |
| Great For | Beginners, Layer Cake Lovers, Quick & Easy Quilts |
Fabric Requirements
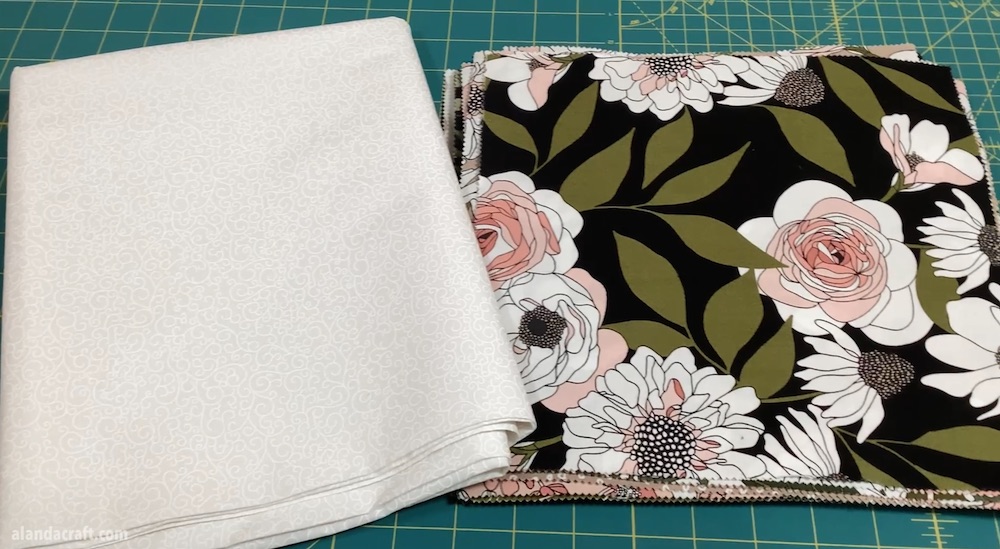
- 1 Layer Cake Pack (42 x 10″ squares) or you can cut your own.
- 2 yards white fabric (It requires exactly 42″ of fabric, but we recommend purchasing 2 yards rather than 1¾ yards to give you a little extra for trimming and any cutting errors.)
Tools Used in This Tutorial
Olfa Rotary Cutter 60mm
Creative Grids 8½” x 24½”″ Quilting Ruler
Creative Grids 12½” x 24½” Ruler
Olfa Cutting Mat
Olfa Rotating Cutting Mat
Blade Saver Thread Cutter
EQ8 Quilting Software
Panasonic Cordless Iron
Juki 2010QP Sewing Machine
Flexispot Pro Sit/Stand Desk
Frixion Pen
You can also find our updated favourite quilting tools on our Quilting Tools We Use page.
Watch the video below…
Can’t see the video below? Here is a direct link to the YouTube video.
Cutting Instructions
From the White Fabric
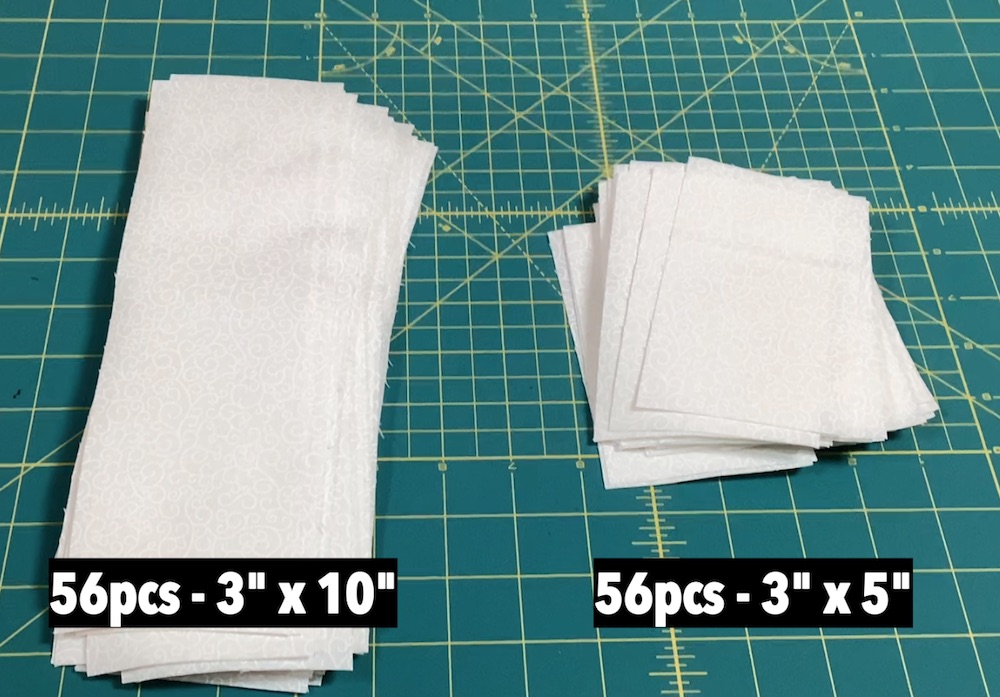
- Cut 21 strips measuring 3″ x WOF.
Note: I like to press out the centre fold before sub-cutting my strips, this is just a personal preference of mine. Also, trim the selvedges from one end of each of the strips before sub-cutting your rectangles.
- Take 7 of the strips and sub-cut them into 3″ x 5″ rectangles. Providing you have at least 42″ of usable fabric width, you will get 8 rectangles from each strip, giving you a total of: 56 rectangles measuring 3″ x 5″
- Next, take the remaining 14 strips and sub-cut them into 3″ x 10″ rectangles. Again, providing you have at least 42″ of usable fabric width, you will get 4 rectangles from each strip, giving you a total of: 56 rectangles measuring 3″ x 10″
Step 1
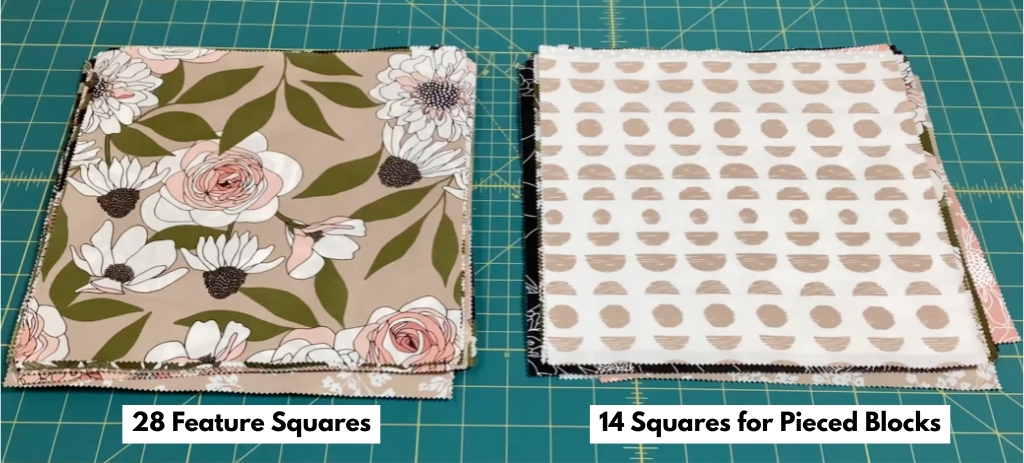
Start by choosing 28 layer cake squares from the pack.
These will be the full-size feature squares in the quilt, so take a little time to look through the pack and choose the prints that catch your eye.
We like to spread the squares out so we can see the colours and patterns together. If your layer cake contains lots of different colours and designs, try to choose a good mixture rather than having too many similar prints.
Set these 28 squares aside for now. That will leave you with 14 layer cake squares to use for the smaller framed blocks.
Warning! Before You Cut Your Layer Cake Squares
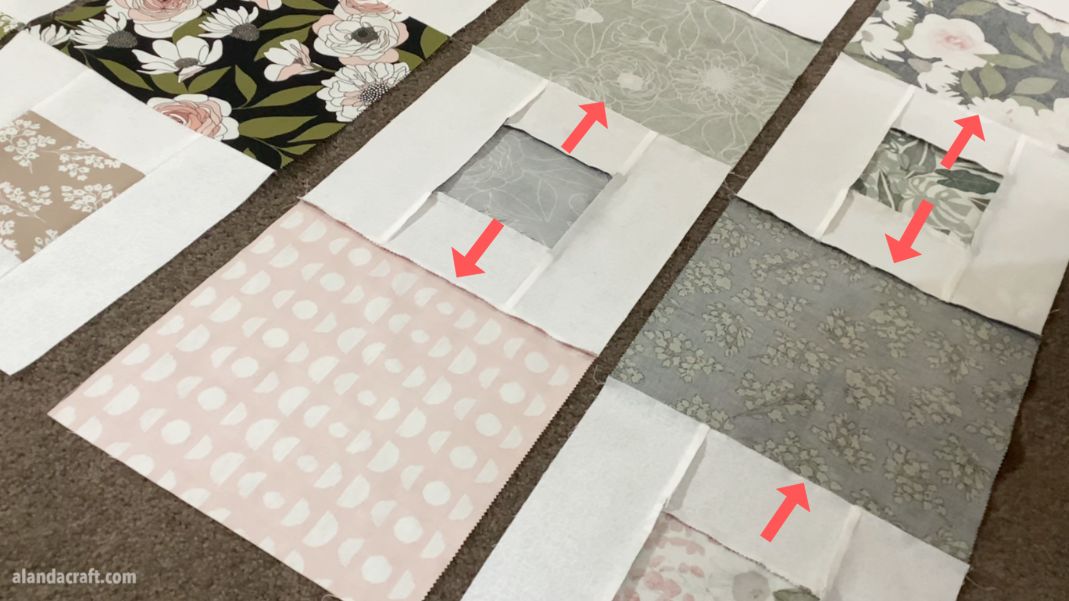
It’s worth taking a moment here to check the size of your pre-cuts.
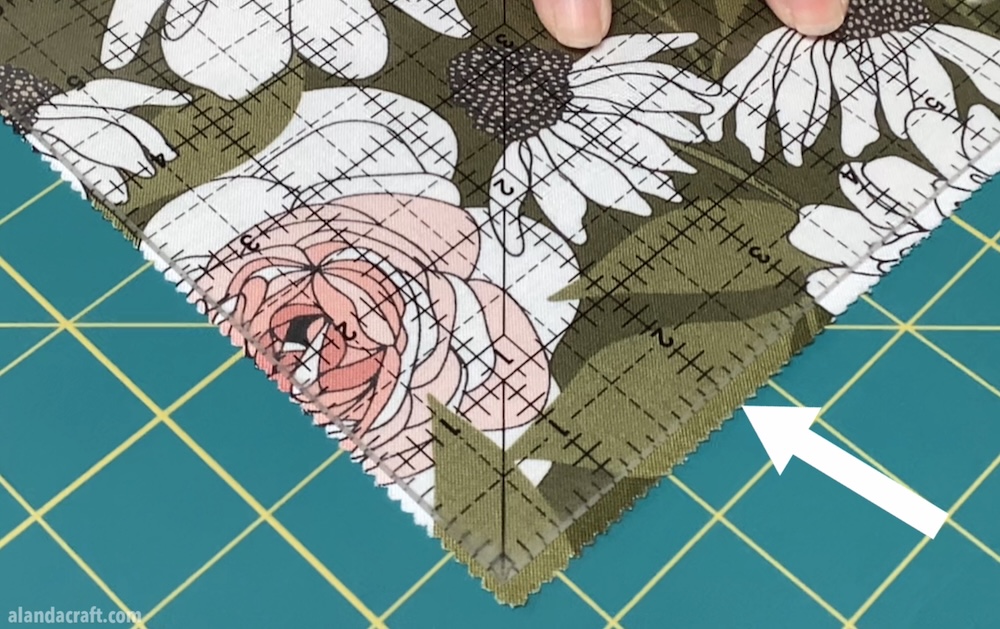
We have found in the past that Pre-cut fabrics aren’t always cut perfectly accurately. Moda are usually pretty good, but with this particular layer cake some of our squares were out by around ⅛” (see image below). Unfortunately, we didn’t notice until we were much further along with the quilt and once we noticed that things weren’t lining up we ended up trimming our large squares.
So before you start cutting, measure a few of your squares. If they’re slightly oversized or inconsistent, trim them to 10″ square first. It will save you some frustration later.
Step 2 – Cut the Smaller Layer Cake Squares
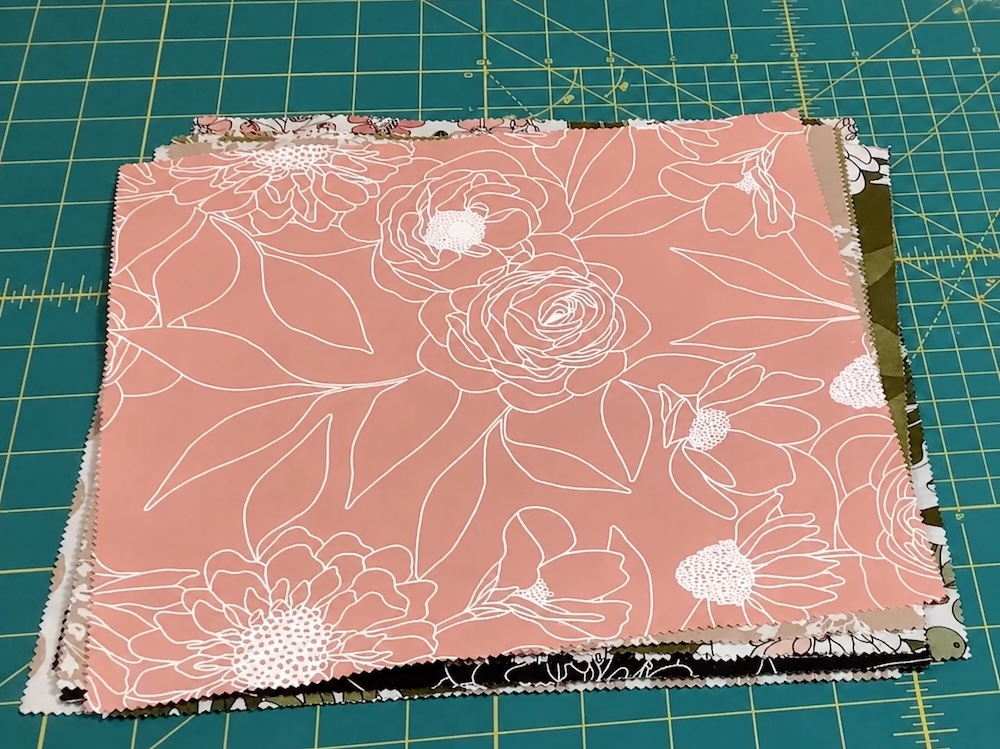
From the remaining 14 layer cake squares you will need to choose at least a minimum of 7 layer cake squares. However, you don’t have to limit yourself to seven. The more layer cakes you use the more variety you will have in your quilt.
I sorted through the 14 squares and removed a few of the darker, more solid prints that I thought might dominate the finished quilt, along with some white prints that would have blended into the white sashing fabric. I finally ended up using 9 layer cake squares.
From each of the squares that you chose:
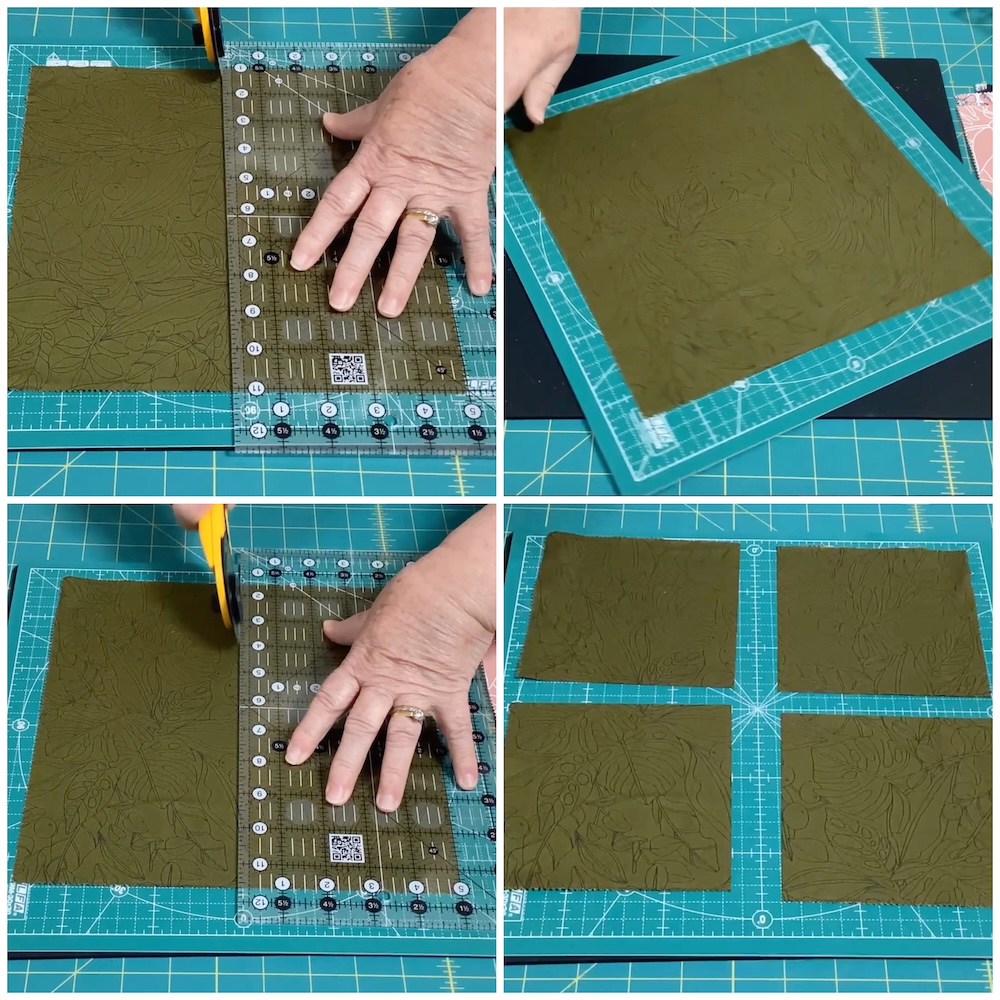
- Line up your ruler at the 5″ mark and cut the layer cake square in half.
- Rotate your cutting mat and cut again at 5″. (Preferably turn your mat rather than your fabric)
- This will give you four 5″ squares.
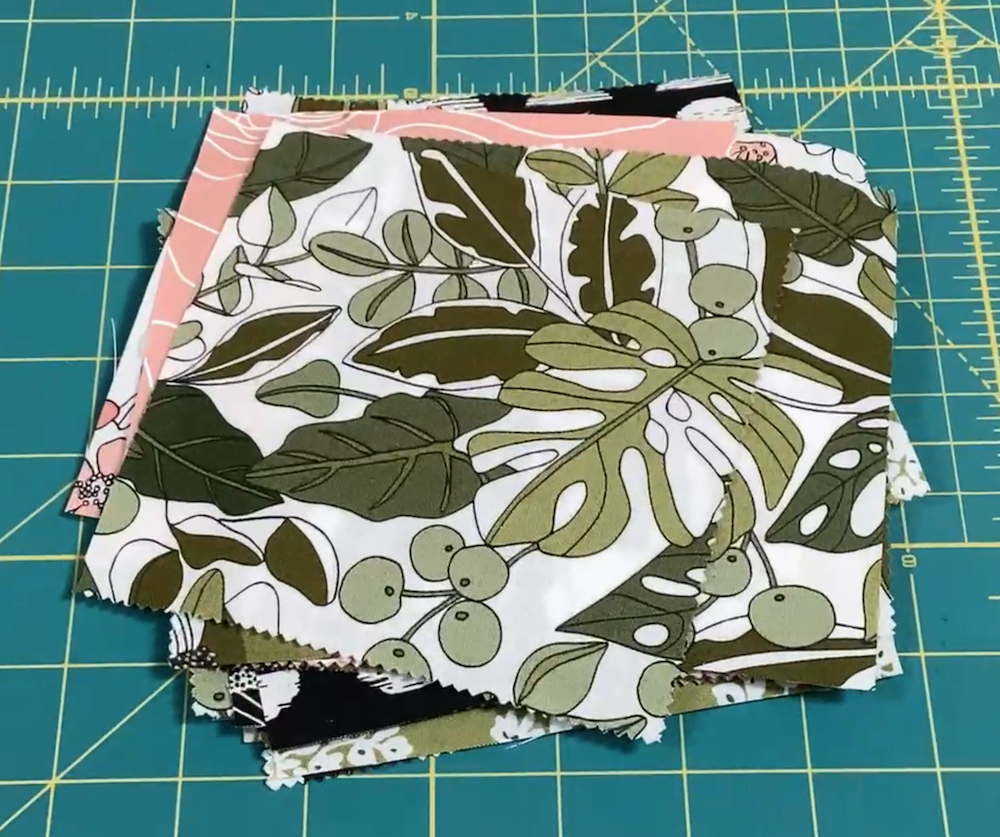
Continue cutting until you have enough squares to choose 28 pieces for your quilt.
Since I had 9 squares, once cut, I ended up with 36 squares. Obviously this is more than the required amount of 28 but I wanted more variety in my quilt. If you cut more than you need like I did, simply pop the leftovers into your scrap collection. They’re now charm-square size and can easily be used in another project.
TIP: A rotating cutting mat is particularly handy for this step because you can turn the mat rather than moving the fabric.
Step 3 – Add the Side Pieces
Note : Seam allowance: ¼” throughout
Take one of your 5″ squares and two of the 3″ x 5″ white rectangle pieces.
- Place one white rectangle on either side of the square.
- Using a ¼” seam allowance, sew the rectangles to the sides of the square.
- Repeat this step with all 28 squares.
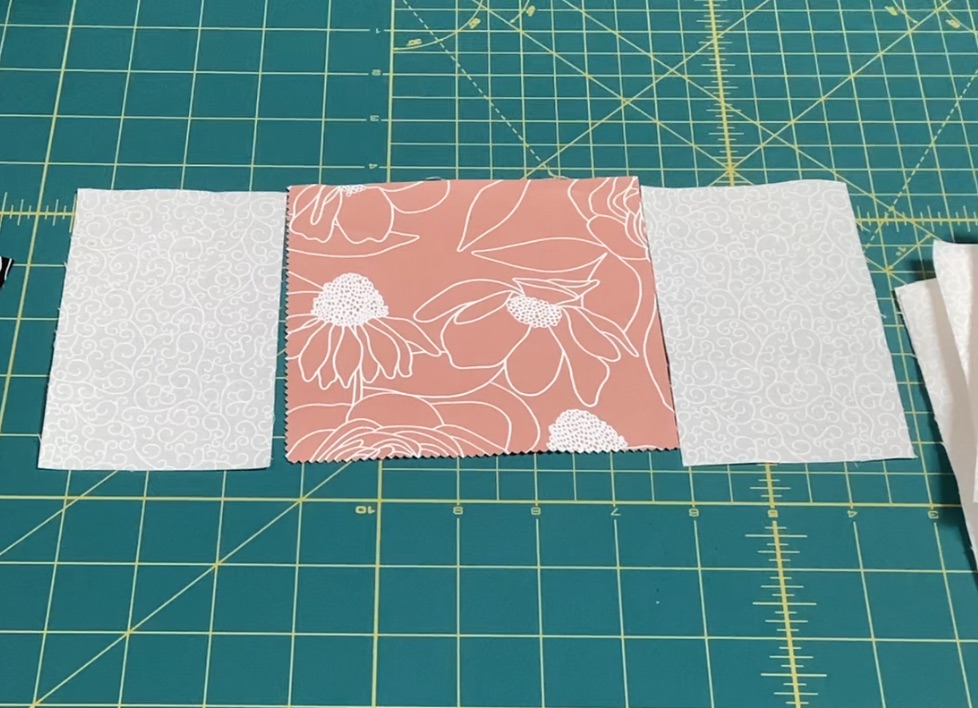
Press the seams towards the centre square. Pressing towards the darker feature fabric helps prevent the seam allowance from showing through the white fabric.
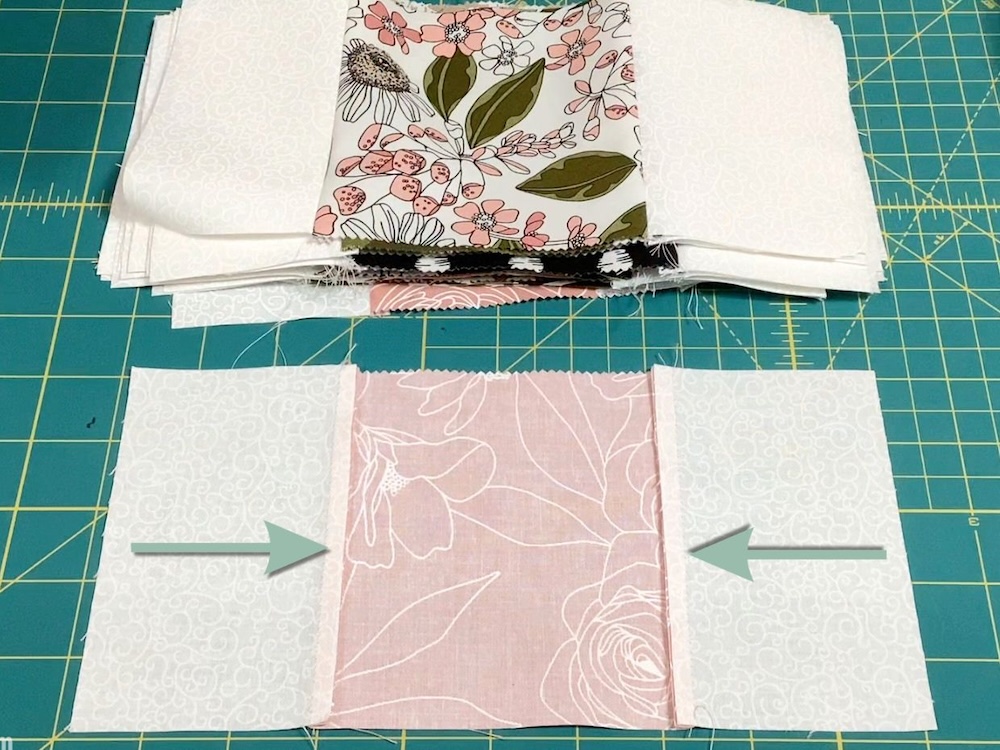
Step 4 – Complete the Framed Blocks
Now bring in your 3″ x 10″ white rectangles.
- Sew one rectangle to the top and another to the bottom of each block using a ¼” seam allowance.
- Repeat this step for all 28 blocks.
- Once again, press the seams towards the centre of the block.
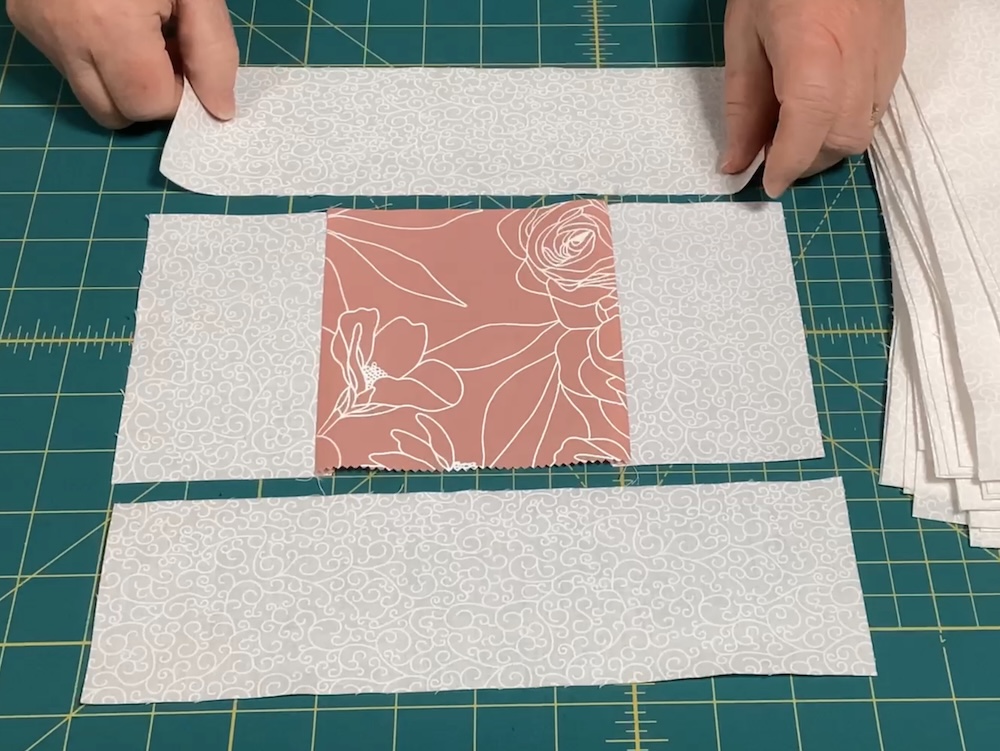
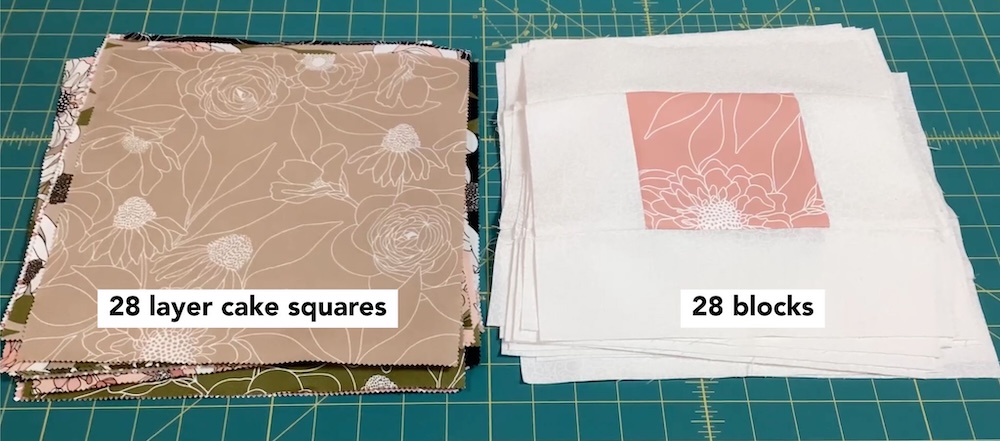
You should now have:
- 28 full 10″ layer cake squares (feature squares)
- 28 framed blocks
- And we’re ready to lay out the quilt.
Step 5 – Lay Out the Quilt
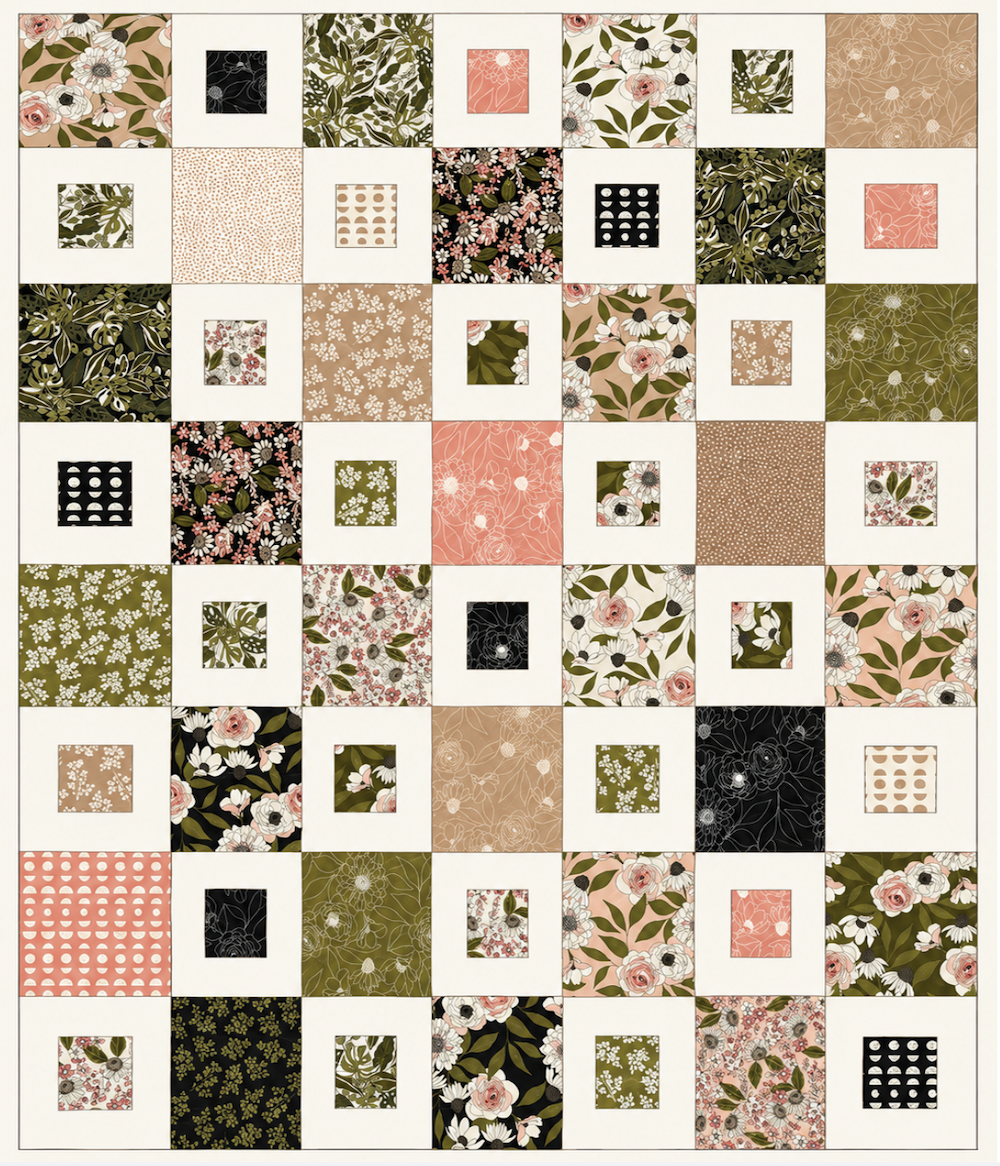
Starting with a full layer cake in the top corner, I laid out my quilt as 7 blocks across and 8 blocks down, and I alternated the feature layer cake squares with the framed blocks.
Layer Cake – Framed Block – Layer Cake – Framed Block – Layer Cake – Framed Block – Layer Cake
For the second row, I reversed the order and started with a framed block:
Framed Block – Layer Cake – Framed Block – Layer Cake – Framed Block – Layer Cake – Framed Block
Continue alternating the rows in this way until all 56 blocks have been used.
NOTE: In the image below, the blocks are not true to size. They came out a little distorted but it gives you the basic idea of the layout.
And now comes possibly the most important part of the whole quilt.
Stand in front of your carefully arranged blocks… stare at them for a while, then spend the next hour moving them around, swapping them back, changing your mind, and generally second-guessing every decision you’ve made. Or maybe that’s just me.
Eventually you’ll reach the point where everything looks just right — or you simply don’t have the energy to move another block.
TIP: Take a Photo Before You Sew
Before you start sewing the rows together, take a quick photo of your layout. Looking at the quilt on your phone or camera can make it much easier to spot things you don’t notice when you’re standing over it.
You might suddenly notice two identical prints sitting close together, an area with too much of one colour, or a fabric that seems to stand out more than you’d like. It’s much easier to swap things around now than after you’ve sewn the quilt together.
And the photo also gives you something to refer back to while you’re sewing your rows.
Step 7 – Sew the Quilt Top Together
Once you’re happy with the layout, sew the blocks together into rows using a ¼” seam allowance.
I usually start with the bottom row and work my way up the quilt, but you can start at the top if you prefer. There’s no hard and fast rule on how you do this.
IMPORTANT – PRESSING THE SEAMS
For this quilt, I pressed the seams towards the full layer cake squares. This ensures that the seams nest nicely when it comes to sewing.
Once all of your rows are complete, sew them together to finish the quilt top.
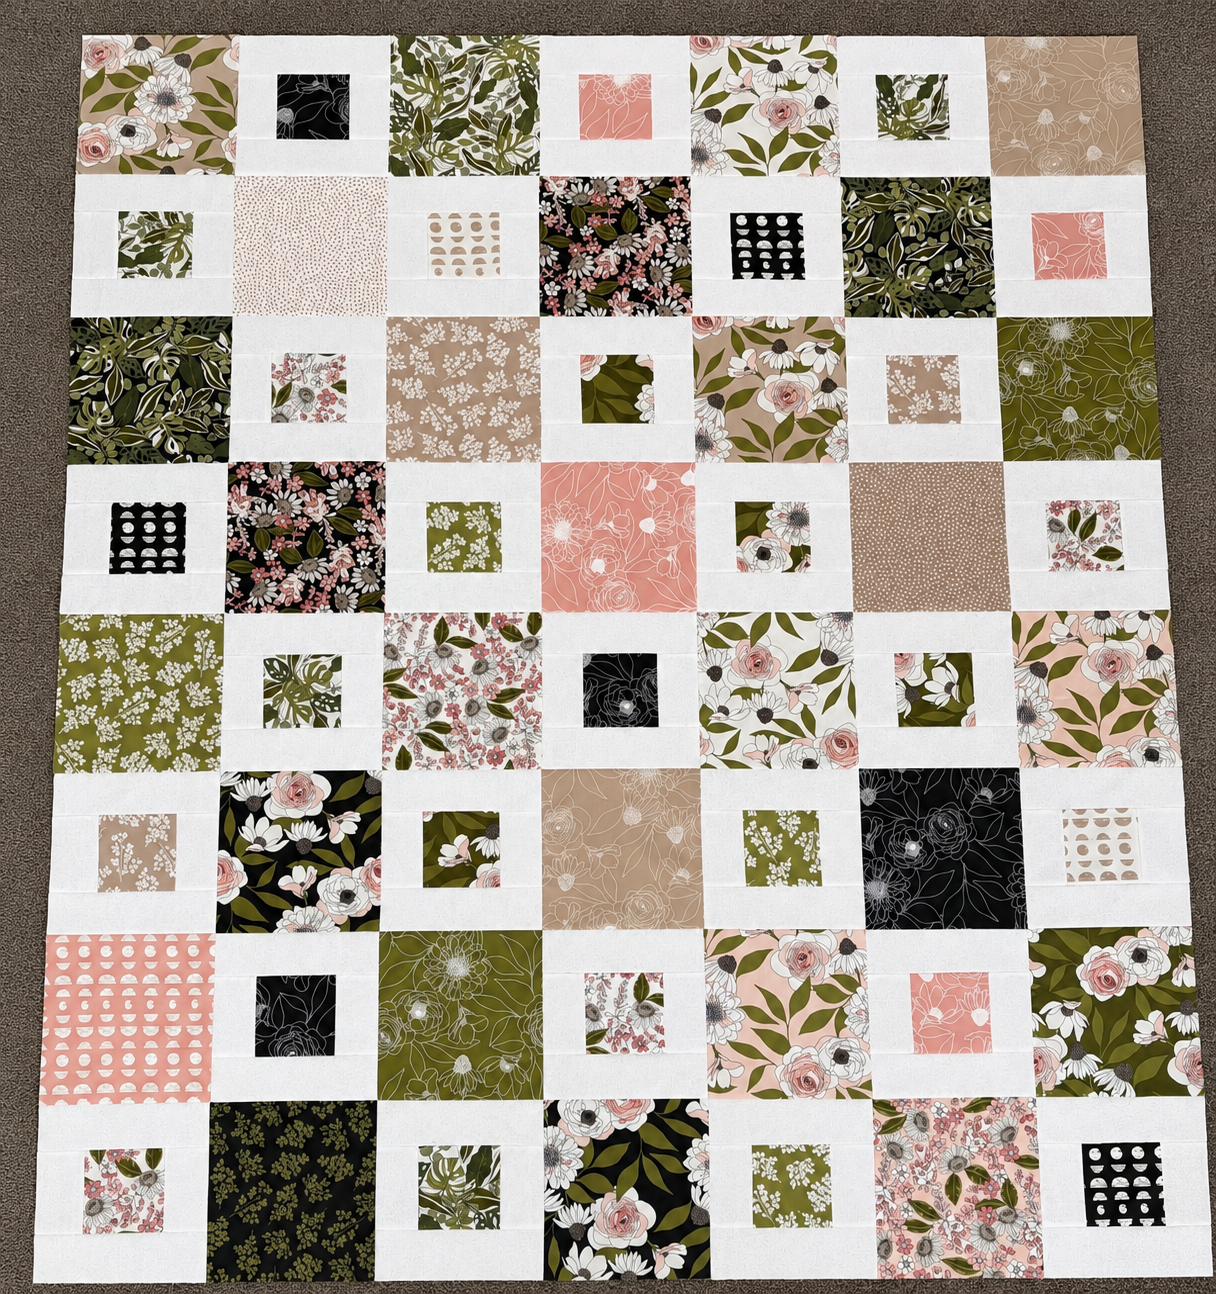
And You’re Done!
And there you have it — the Framed Blooms Layer Cake Quilt top is finished although you can add borders if you wish.
I love how this one turned out. The white frames give the smaller prints a little breathing room while the full layer cake squares really showcase the patterns. This is a great design for those layer cake collections with lots of large prints that you really like and don’t want to cut into tiny pieces.
Add your batting and backing, quilt it using your favourite method, add the binding, and your Framed Blooms quilt is complete.
I hope you enjoy making this one as much as I did.


Bertie Martin says
I tried to print off instructions but it only printed 1/2 page of it can you email me the instructions
Alanda Craft says
Try this link Bertie. https://www.alandacraft.com/2026/08/25/framed-blooms-layer-cake-quilt-tutorial/?print=print. If that doesn’t work for you then click on the PDF button next to the print button at the bottom of the post. This will download the pdf for you and then you will be able ton print it out.